Hi guys its Scotty from the UK. I've been busy painting up some more Black Templars for Duncan, so while I was on I thought I'd take a few pics with my phone and make a quick and easy tutorial for you guys on making some tidy looking bases. Yes I'm sure a lot of you have seen this a thousand times before but hopefully a few guys can get something out of this.
Step 1: Rocks

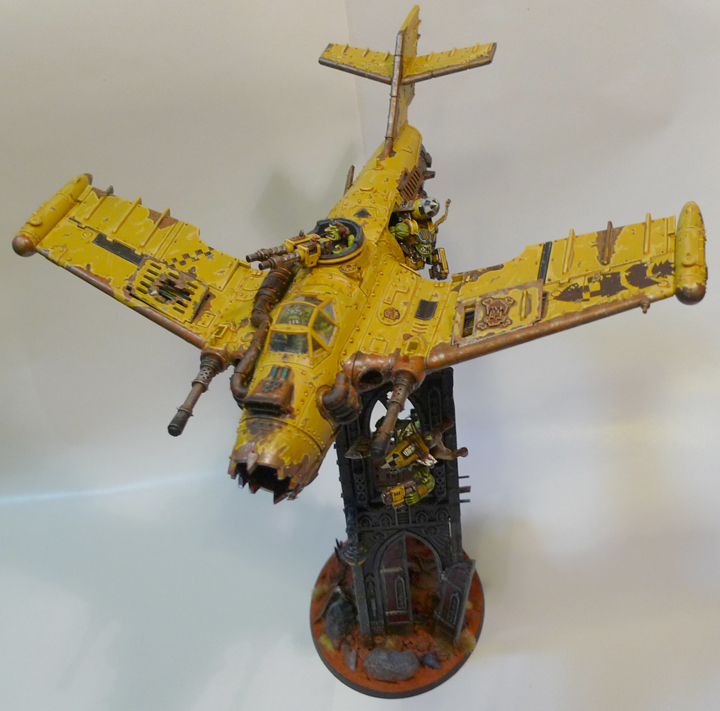
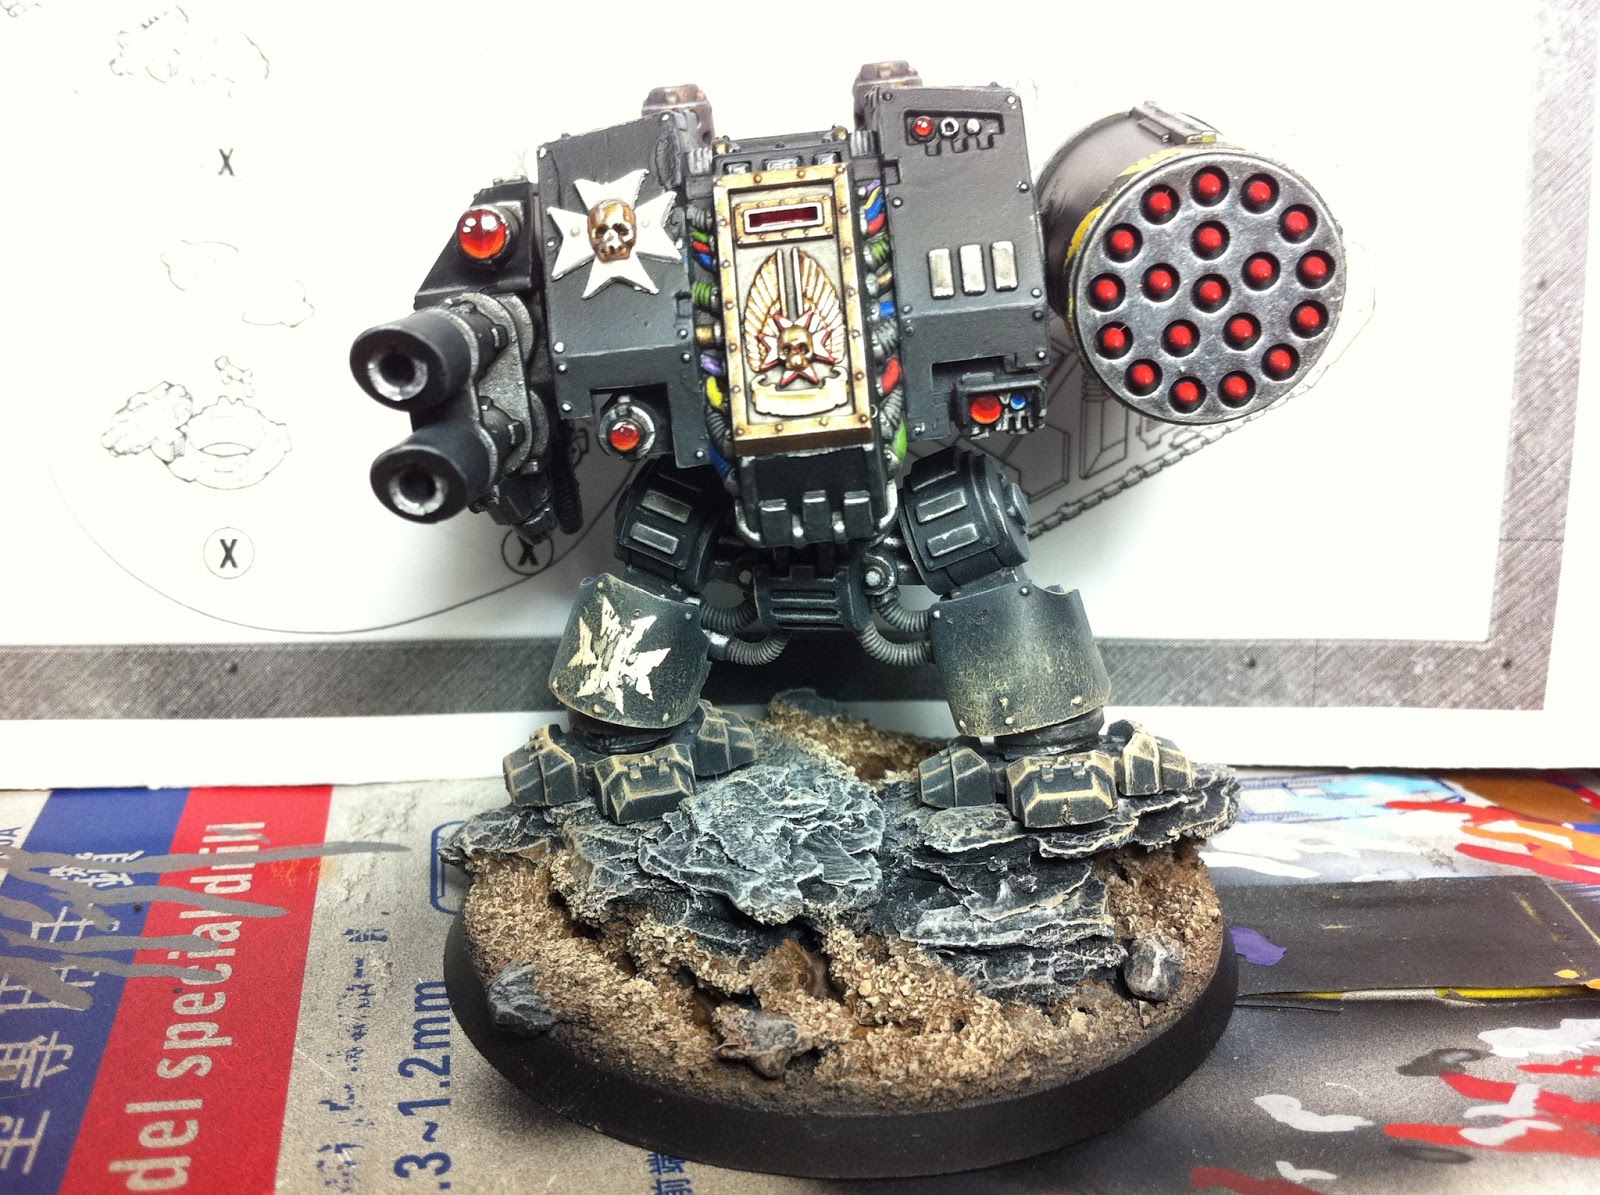
These bases are for Duncan's dreadnoughts. I decided I was going to add some rocks to break up the manotamy of simple ruble. Duncan did specify that he wants simple bases that are fitting with his army so rocks is adventurous as I went. When choosing materials for bases you can use absolutely anything you want to. Remember once things are painted they can look like something completely different altogether, there is no rules. In this case I am using tree bark for the rocks. I know that when painted they'll have the perfect texture for a nice scale rock and its an easy material to cut, trim and drill. So, arrange the bark and fix it in place with some all purpose glue. Leave it to set to the point that the tree bark is firmly in place and will not move.
Step 2: Ruble

Water down some cheap PVA glue with tap water and apply with a cheap brush everywhere that you want to have ruble, dirt and stones on the base. Do NOT use your good quality sable brushes for this!!!!
Step 3: Ruble

Put your base into a container of sand (I got mine from the beach) and make sure to completely submerge it into the sand covering all of the glue that you applied in the previous step. Leave it in there for a few minutes and then carefully remove it holding the base at the edges with the tips of your fingers. Turn it upside down over the container and tap the underside of the base to remove the excess sand. Leave the base until the PVA glue is set. Once set you can repeat step 2 and 3 to build up more sand in certain places or to fill any parts you unintentionally missed last time.
Step 4: Mark mounting holes

Here I mark out two points on the base where the pins in the dreadnoughts legs will go. You can do this at any stage after this you wish to. I like to do it now so I can dry fit the model before painting just in case there is anything on the base I wish to change.
Step 5: Drill mounting holes

Using a pin vice I drill appropriate sized holes in the same place I marked the base in the last step.
Step 6: Start Painting

Prime the bases black. I am using Vallejo black primer through my airbrush here. Using an aerosol can primer is fine but I find I get a much greater level of control with my airbrush and don't loose any detail. Leave the primer to cure. Depending on the materials used on the base and the paint you are using you may sometimes have trouble getting the paint to adhere. If this happens just give the base a coat of Matt varnish and once that's dry you can prime away.
Step 7: Base color

I applied a watered down mix of 'VMC flat earth' to all of the areas covered with sand. Leave it to dry. BTW I chose the colours that I did for the ruble to match the colours of the weathering powders that Phil used previously on some of Duncan's tanks.
Step 8: Heavy Drybrush

Ok this is where it starts to get fun. Apply the first drybrush layer. On the ruble I used 'VMC brown sand' and on the Rock I used 'VMC dark sea grey'. The first drybrush layer should be a heavy drybrush. Use a large, flat, soft bristled brush for this. Thankfully here in china you can get a pack of 5 different sizes for about 15 RMB (£1.50). Cover your brush in the desired color paint and then wipe it back off onto some paper towel until there is only, what appears to be, coloured dust left on the brush. Then lightly draw the brush back and forth over the area you wish to apply the paint. Take your time and watch as the color slowly accumulates on all of the raised parts of the area. Stop when you think there is enough. DO NOT scrub the model with your brush. This is quicker but the end result will be poor and you will destroy your brush.
Step 9: Medium drybrush

Ok time for the next layer. This time I used 'VMC light grey' on the rock and a mix of 'VMC basic skintone' and 'GW balor brown' on the ruble. Use the same technique used in step 8 but this time remember to leave some of the colour from the previous step showing.
Step 10: Light drybrush

Time for the final drybrush. This can be considered as a highlight and should be done very lightly. Concentrate on the higher points of the area you're painting and be careful not to overdo it. Here I'm using 'VMC white grey' on the rock and 'VMC basic skintone' on the ruble.
Step 11: Mount mini and clearcoat

So lastly I airbrushed some black primer around the rim of the base to tidy it up a bit. I mounted the legs and feet of Duncans dread to the base and fixed them in place using super glue. I weathered the legs and feet by carefully drybrushing them with the same colours used on the bases ruble with a small drybrush from GW. After I was happy I airbrushed the whole thing with Vallejo Matt Varnish.
Step 12: Smile
And there it is. Very easy but very effective bases to make. Please forgive the terrible photos but the only camera I have is the one on my phone which seems to love messing around with colours. I hope this has inspired some of you to have a go at making some nice bases for your minis
Thanks
Scotty